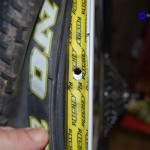
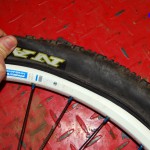
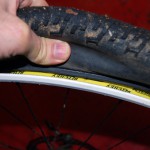
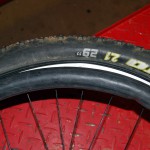
The one downside to commuting by bicycle are flat tires. Bicycle tires today are more resistant to punctures and flats than they were in the past, but flats still occur. It is mandatory for bicycle riders to carry a repair kit, or a new tube, and know how to use them, or get stranded somewhere away from home. I use the following steps to repair flats:
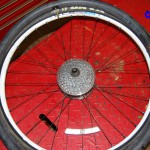
- Remove air from tube/tire if there is any left.
- Press tire bead away from rim on both sides of tire. This is called “Breaking The Bead.”
- Using my thumbs, I press into the tire while lifting the tire bead up and out of the rim. I do this all the way around one side of the tire to remove the tire bead to the outside of rim. This is so I can remove the tube. If you can’t remove the tire bead with your hands, than use a tire tool. Tire tools are available online, Walmart or your local bike shop. They are usually included with bicycle tool kits. Be careful not to pinch or damage the tube while using the tire tool.
- With the tire bead out, remove the tube stem from the rim and remove the tube by pulling it out of the side where you just moved to the tire bead to the outside of the rim. Be careful to remember the orientation of the tube and tire, so that after you find the leak in the tube you will know approximately where the damage occurred on the tire.
- Add air to the tube and look for the leak. You can use water and dish washing soap in a spray bottle to spray the tube and look for bubbles created by the leak. Or you can dunk the tube into a bucket of water and look for bubbles created by the leak.
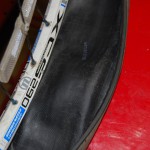
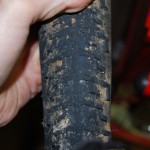
- After you find the leak you should know approximately where the damage occurred on the tire if you can remember the orientation of the tube and tire. Inspect the inside and outside of the tire for tears, cracks or any foreign debris that shouldn’t be there. Also inspect the rim strip for tears and cracks. Replace tire or rim strip if necessary.
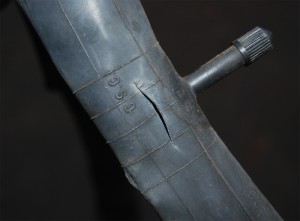
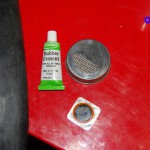
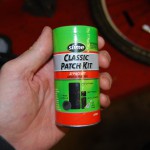
- Repair or replace the tube. If the tube is punctured, than it can be repaired. If the tube is cut, than it can be repaired as long as the break is not too long. I would say anything longer than 1/4 inch is too long, and tube should be replaced. If you choose to repair the tube than you will need a tire repair kit. I like to use the old fashioned tube repair kits that include rubber cement, but you can also get kits that no longer use cement.
- Here is the procedure I use to patch a tube. Scuff up the area of the tube around the puncture with the scuffer included with the kit. Apply rubber cement to the area around the puncture large enough for the patch. Apply the patch by pressing down on it to remove any air bubbles. I usually place a heavy object of the patch for 15 minutes before I install the tube. This gives the cement a chance to dry.
- Now to install the new tube or repair tube, add just enough air to the tube to take out any bends or twists. Install the tube valve stem into the rim and work the tube back around the rim and under the tire.
- Now carefully use your hands to press the tire bead back inside the rim. You do this by starting in one small spot, than working your way around the rim. I sometimes use both hands working in opposite directions and meeting 180 degrees on the other side of where I started.
- With the tire and tube installed on the rim, add the recommended air pressure (psi) to the tube/tire. While doing this check to see that the tire is seating evenly and properly on the rim. If it is necessary to make an adjustment, than let some air out and re-position the tire if necessary.
- Install the wheel back on the bicycle.
John 3:16 “For God so loved the world that he gave his one and only Son, that whoever believes in him shall not perish but have eternal life.“
